-

-
12 SIMPLE STEPS TO CREATE MOBILE APPLICATION
You want to create a mobile application? Have you woke up this morning with a creative idea for a perfect app? One that nobody else has thought of before, and you're sure it will be very popular? Or have you found yourself with a problem you think you can solve? The answer to this question will determine whether your application will be successful or not. The problem is that you do not know where to start, design, programming...Here we explain step by step to help you start creating your first mobile application:STEP 1: IDENTIFY AN IDEA OR PROBLEM
 If you already have an idea for your application, go to step two. If not, read on. You want to create an application but do not have an idea? What you really need is to find a problem that needs a solution, and they are everywhere. Successful entrepreneurs have been able to solve problems in a way that could not have imagined before. When you look around, every product and service you use were created to solve a problem. So try to look for problems in your daily life and make a list. Once you have an exhaustive list, and you can start thinking about how you can solve them.
Having a great idea is the starting point for each new project. But before going into the details of the application, it is necessary to clearly define the purpose and mission of the application. What are you going to do? What is your main attraction? What specific problem will be solved, or what activity is going to improve?STEP 2. VALIDATE THAT THERE IS A NEED IN THE MARKET
 Perform a validation show that there is a demand for your application, and you're not alone who see the necessity. One of the possible ways to validate your idea is using the MVP Approach by creating a landing page that extensively detail the idea of the application and give the option to extend the information to users who request them by email, or by the use of Google Keyword Planner that analyzes the number of people seeking solutions to the same problem.
Another possibility is to analyze markets applications. Analyzes which applications are successful and what kind of problems they solve. Many times we can find applications that solve a problem but not the best way, and yet succeed as the only or the few existing. In that case, we must consider whether the application to be developed is able to improve the existing and cover that market.STEP 3. DRAW THE EXPERIENCE OF THE APPLICATION
 From the moment you begin to shape the application, do the simplest thing i.e. to make some simple sketches about the different functionalities of the application. Whether with paper and pencil or using digital media such as Photoshop. It is important to shape what you have in your head so that a programmer can begin to understand what you're trying to create. This step is useful to look at other existing applications that serve as inspiration and model that we can draw ideas. In this way, we will facilitate communication with the programmer.
Need a developer to create your app? We can help you. Ask us to quote hereSTEP 4. REGISTER AS DEVELOPER
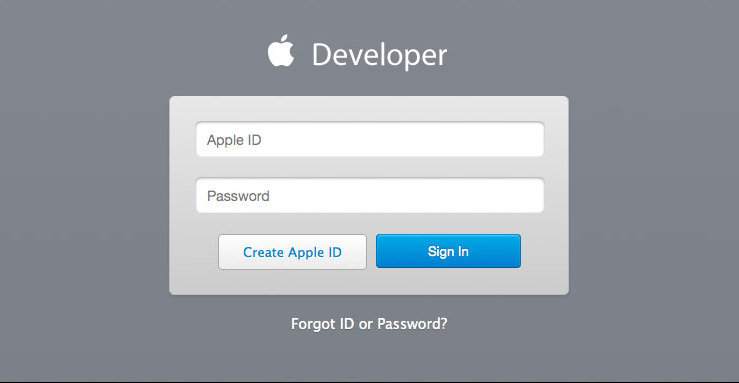 Once you have a clear idea, you need to register as a developer on that platform for you to have thought that it may be more appropriate. Do not be intimidated by the word "developer". That does not mean you have to be a programmer, it is simply the name used for someone who publishes applications.
STEP 5. FIND A GOOD DEVELOPER
 Hiring developer can be a lengthy process, but it is time well spent because largely the success of the project will depend on this. Making a good choice will avoid unnecessary delays, unnecessary costs, and frustration in the future.
Analyze their previous work of the company or developer to see their skills when translating ideas into an application and analyze whether they can develop your idea into a great application or not. You can also go to specialized companies with several developers and extensive experience to ensure better results.STEP 6. APPLICATION DEVELOPMENT
 We cannot always be sure about the choice made by the developer so there is the possibility of ordering the development in parts. This practice helps you test their skills i.e. if the first tasks do not deliver the desired results you can pick a new developer without making any investment. One way to do this is to divide the project into three phases:
- Icon - ask the programmer to design the application icon in size 512 x 512 for the version of iTunes. You probably have several ideas for icons.
- Basic application - ask the programmer to edit a basic application that can open and display a simple message. It is a process that does not take more than 10 minutes. The idea here is not to prove their programming skills, but to determine how they work. This application must include the icon to check how it will look on your phone.
-
App delivery - When the programmer provides you a trial version of your application, you must create something called an "ad hoc", a version of the application that can be run from the iPhone without using the App Store.
STEP 7. TEST APPLICATIONS
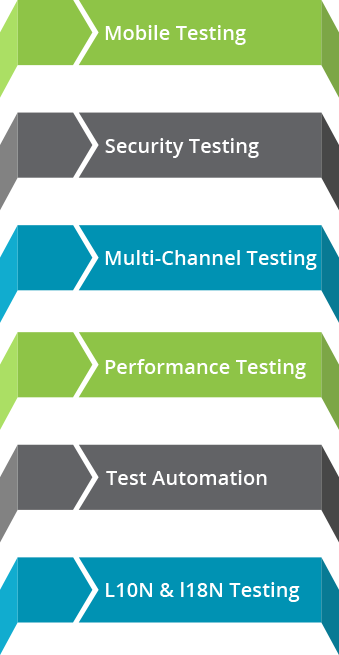 This phase is very important to ensure the smooth functioning of the application. Do not be the only tester, let other people use it because they can find new needs or provide feedback that can improve the app functionality.Test each and every one of the functions more than once so that you make sure it works properly. Make a list of the suggested improvements extracted from the information obtained during testing by yourself and other users. Share the list with the developer to make changes. Once again test improved functionalities to make sure these works properly.
STEP 8. INTEGRATE ANALYTICS
 Analytics helps control downloads and user activity. You can use tools like Flurry which is available for free or Localytics that offers both free and paid pro services.
STEP 9. PUBLISH THE APPLICATION IN THE APP STORE
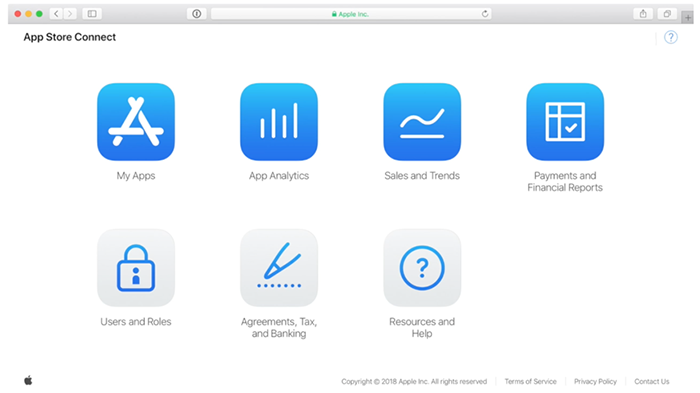 Once tested the application and have made the necessary changes, it is time to launch the application through the App Store. The time Apple will take to review and approve or reject your application will depend on whether you're sending it as an individual or as a company. If you are an individual, it takes three to seven days. If it’s a company, it will have to wait for seven to 10 days.
STEP 10. MARKETING APPLICATION
 In the App Store there are thousands of great apps, so to achieve success make your way. For this, you must take into account a number of aspects such as ASO and the ones that may influence the successful downloads. Choose some keywords, try different icons and descriptions to see which of them attracts more users and generate more downloads, perform external promotion applications market, buying advertising, are some of the techniques that can be applied.
STEP 11. OBTAIN FEEDBACKS
 If possible, provide the application free for a while in order to attract new users. Analyze feedback from these users to improve the implementation and launch of new improved versions.
STEP 12. IMPROVE APPLICATION
 The first time you launch your app to App Store, it is an initial basic version. Over time there may come new ideas to improve the application. Also, the feedback from users guide you the way can go on to incorporate new features. After launch when you have more users, you can also find faults that must be corrected. The more you improve the application more likely you are to have greater success.